Data analysis with Python and pandas
Find this page at bit.ly/birn-data
Getting started
Let’s get started!
First we need to figure out where we are going to run our code. You have two options:
- On the cloud with Google Colab
- On our computers with Jupyterlab Desktop.
Using the cloud is nice because you don’t have to download anything or install anything and there are fewer setup issues in general. But it’s less realistic! In real life you would use your own computer. Either option is fine, and if Jupyterlab turns out to be difficult for you, you can always switch to Colab.
If you want to run your code using the cloud (Google Colab), you don’t have to install anything! Just move on to the next step.
While running code in the cloud is nice and easy, most people end up doing their analysis on their own computers.
First, download Jupyterlab Desktop by scrolling down to the section on Installation and download the correct version.
Windows folks, download the Windows version. If you have an older mac, you want x64 Installer (Intel chip). The Apple silicon version is for an M1, M2, or M3 mac.
The startup instructions are ridiculous:
Jupyterlab Desktop can be launched from the GUI of your operating system by clicking the application’s icon or by using jlab command from the command line. Double clicking .ipynb files is also supported and it will launch Jupyterlab Desktop and load the notebook file.
What? Just open it like you would any other software:
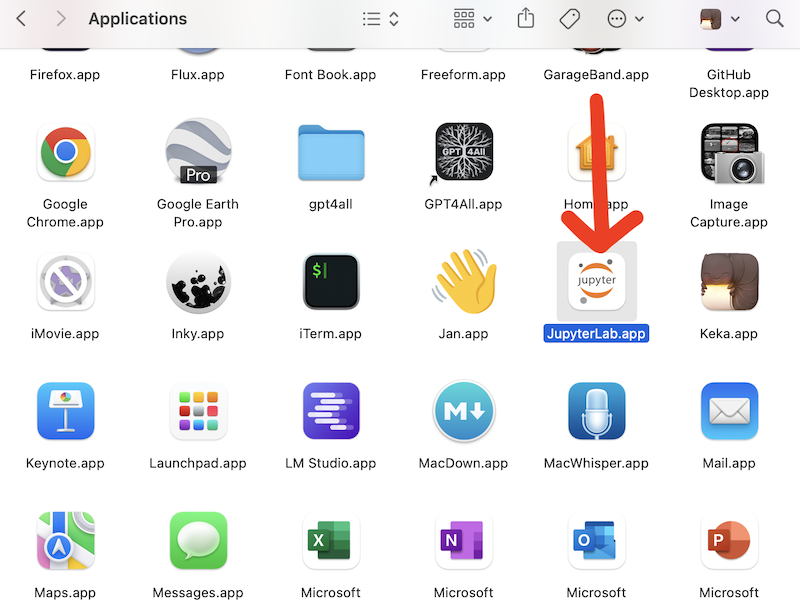
Once it’s open, move on to the next step.
Getting your code
We run code in notebooks, which are the standard way that data scientists work on code. It allows you to go back and forth between analysis and writing notes, and your work becomes more like a “conversation.”
There are two options for this session’s notebooks: the completed versions and the fill-in-the-blanks versions.
I think the fill-in-the-blanks one is more fun! You’ll type along with me, asking questions and learning as you go. The completed version doesn’t have any fun surprises, but you get to sit back and relax. You can always from the incomplete one and copy/paste from the completed version later.
Just click the version you’d like and it will open up automatically:
Download this file to get all of our notebooks and data files. You’ll need to extract the files from the zip by either double-clicking or right-click + Extract all.
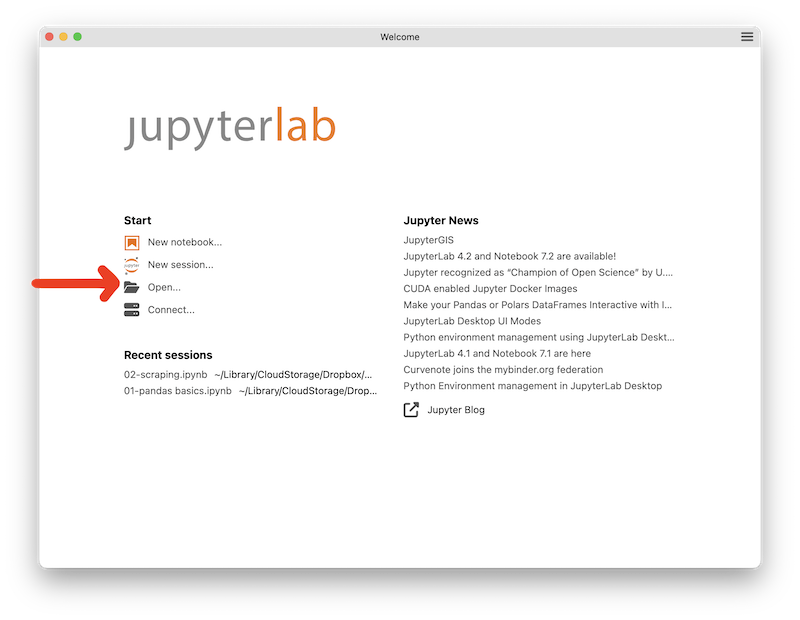
After you open Jupyterlab Desktop, use ‘open’ to find the .ipynb file you downloaded, and you’ll be ready to go!
There are two versions of the notebooks: pick the incomplete, fill-in-the-blanks version if you’d like a little adventure or the completed version if you’d like to relax.
Running your code
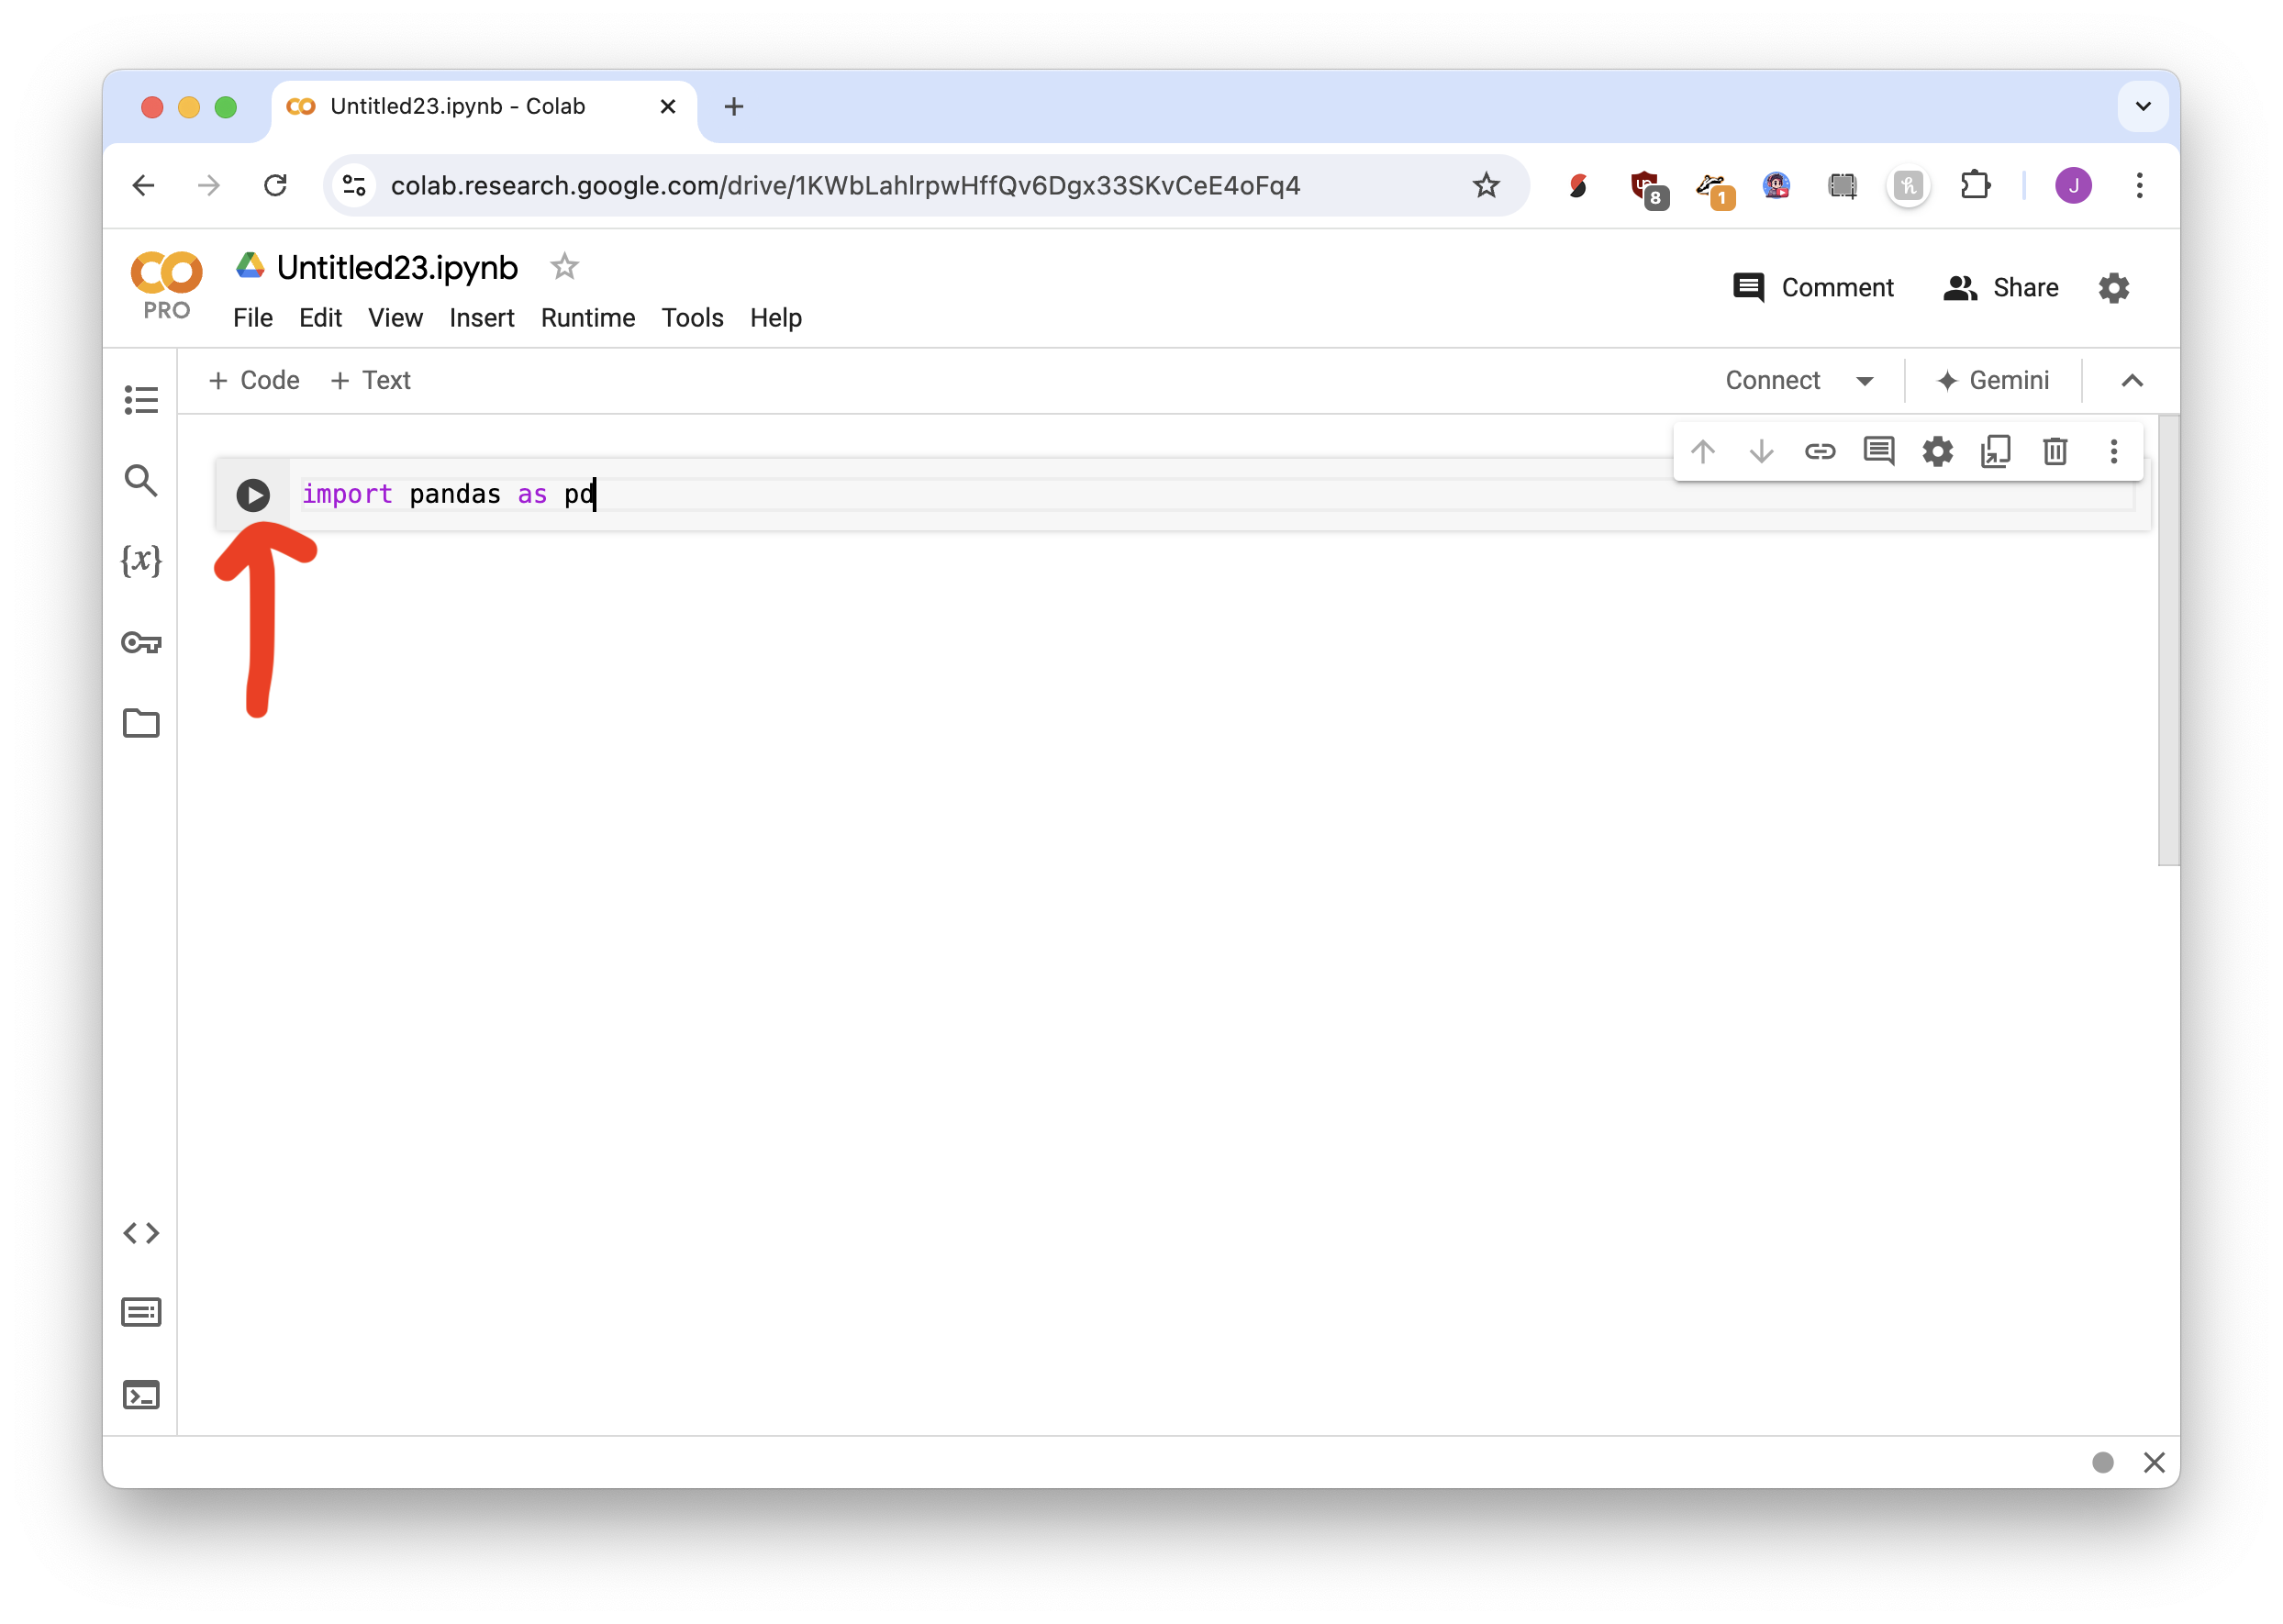
Each block of code is called a cell. You need to tell Python to “run” the cell in order to have the code do anything.
Both Google Colab and Jupyterlab Desktop have a little play button you use to run code.

Graphing
There are two ways to make graphics:
- With matplotlib, the worst thing on the planet
- With Altair, the best thing on the planet.
I recommend using Altair! You can find examples here.
Tips from your AI friends
Now that you know how to run basic Python code, your world is infinitely larger! Try asking ChatGPT or Claude about how to do something, and it can walk you through step-by-step.
Need more explanation on what a line of code means, or how to run it in Jupyter? You now have the vocabulary to understand, and have a coherent back-and-forth with the chatbot!
In the notebooks below we use AI to help perform some very very fancy analysis:
If you’d prefer to use Jupyterlab Desktop, you can use this file to download of the content for this session, including the pandas walkthrough notebooks and the AI ones, too.
Other resources
A great resource is Ben Welsh’s First Python Notebook. It’s like a longer version of what we did today!